—Amikoo Releases

What Shipped

Everything we've shipped to help you hand off E2E testing.

Meet your workers

Every sprint, the same QA work comes back around: writing tests for new PRs, fixing the ones that broke, running the suite, figuring out whether a failure is a real bug. You don't have to do it manually every time.

Workers let you hand off that repeating work. Go to Workers, describe what you want done, and pick how it starts: on a schedule (every X hours, daily, whatever fits), or triggered by a GitHub event like a PR being opened.

Before anything runs, Amikoo sends you the plan in plain English, so you know what's coming. Something like:

  • Read the changes in every PR

  • Decide if a new test is needed

  • Write the new tests

  • Open the PR

A few flows worth automating:

  1. Test generator: writes tests when a PR opens.

  2. Auto-fixer: fixes tests when they break.

  3. Test runner: runs your suite on a schedule.

  4. Defect logger: checks if a failure is a real bug and files it.
 

Read more →

Your tests have somewhere to run now

Amikoo writes your tests. Now it runs them too.

Getting set up

From your project home, click Enable cloud executions. The Auditor checks your repo once. If it's ready, you're done. If not, Amikoo opens a pull request with what's missing. Merge it and the Auditor runs again until it passes.

Running your first test

Once the Auditor shows a green check, you can start a run two ways:

From the Tests list: click the rocket icon next to any test.

From chat: ask in plain language. Try "run all the checkout tests in the cloud" or "run the tests tagged 'regression'."

Whichever you pick, the test runs in the cloud. When it's done, you get the result, the duration, and a video of the run.

Read more →

Attach files to your prompts

You don't always have to type out what you need. Sometimes it's easier to just show Amikoo.

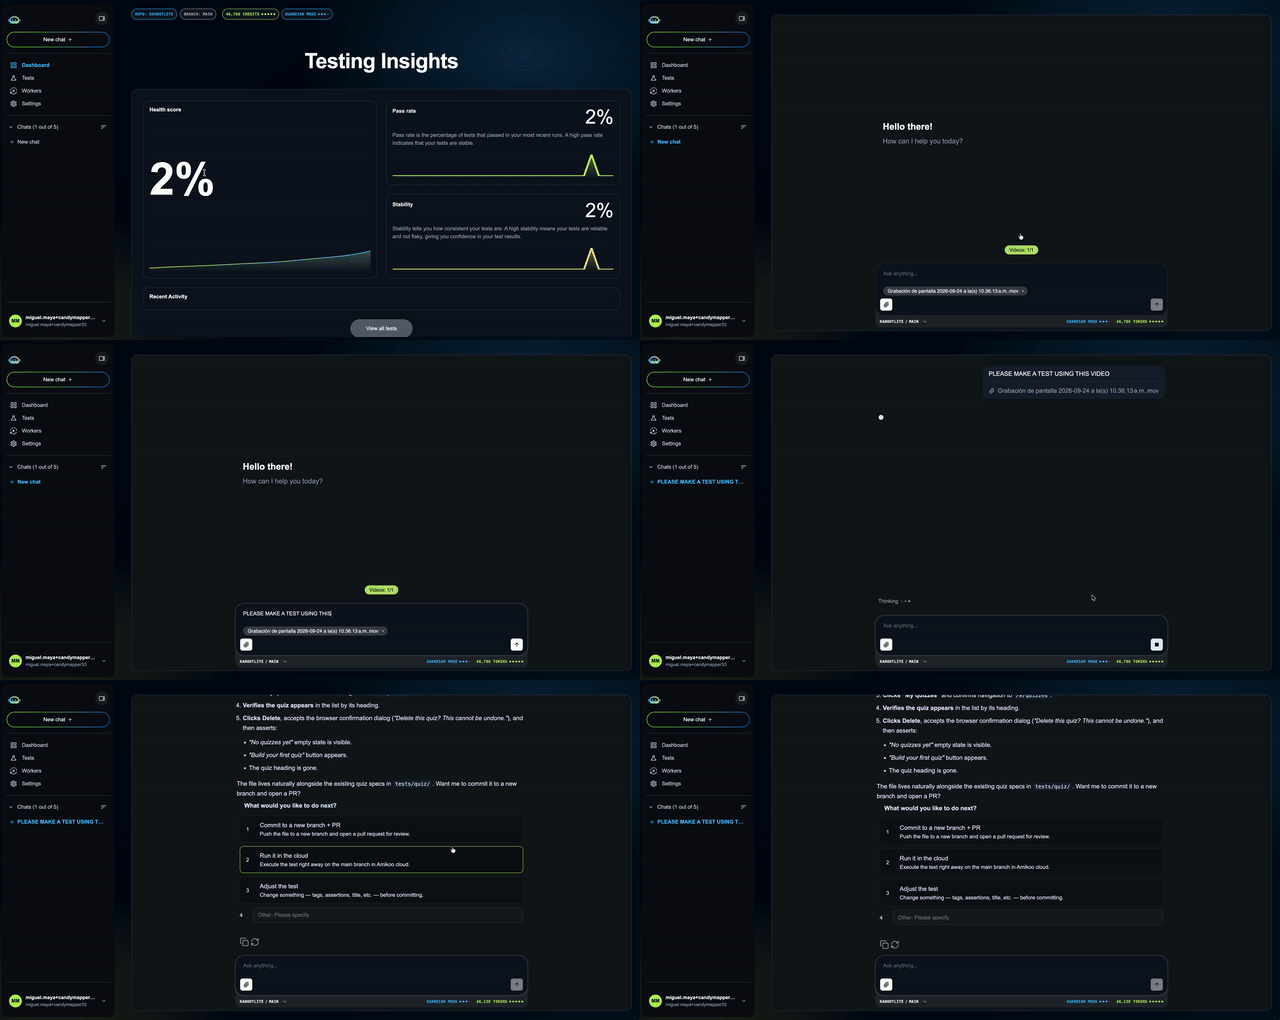
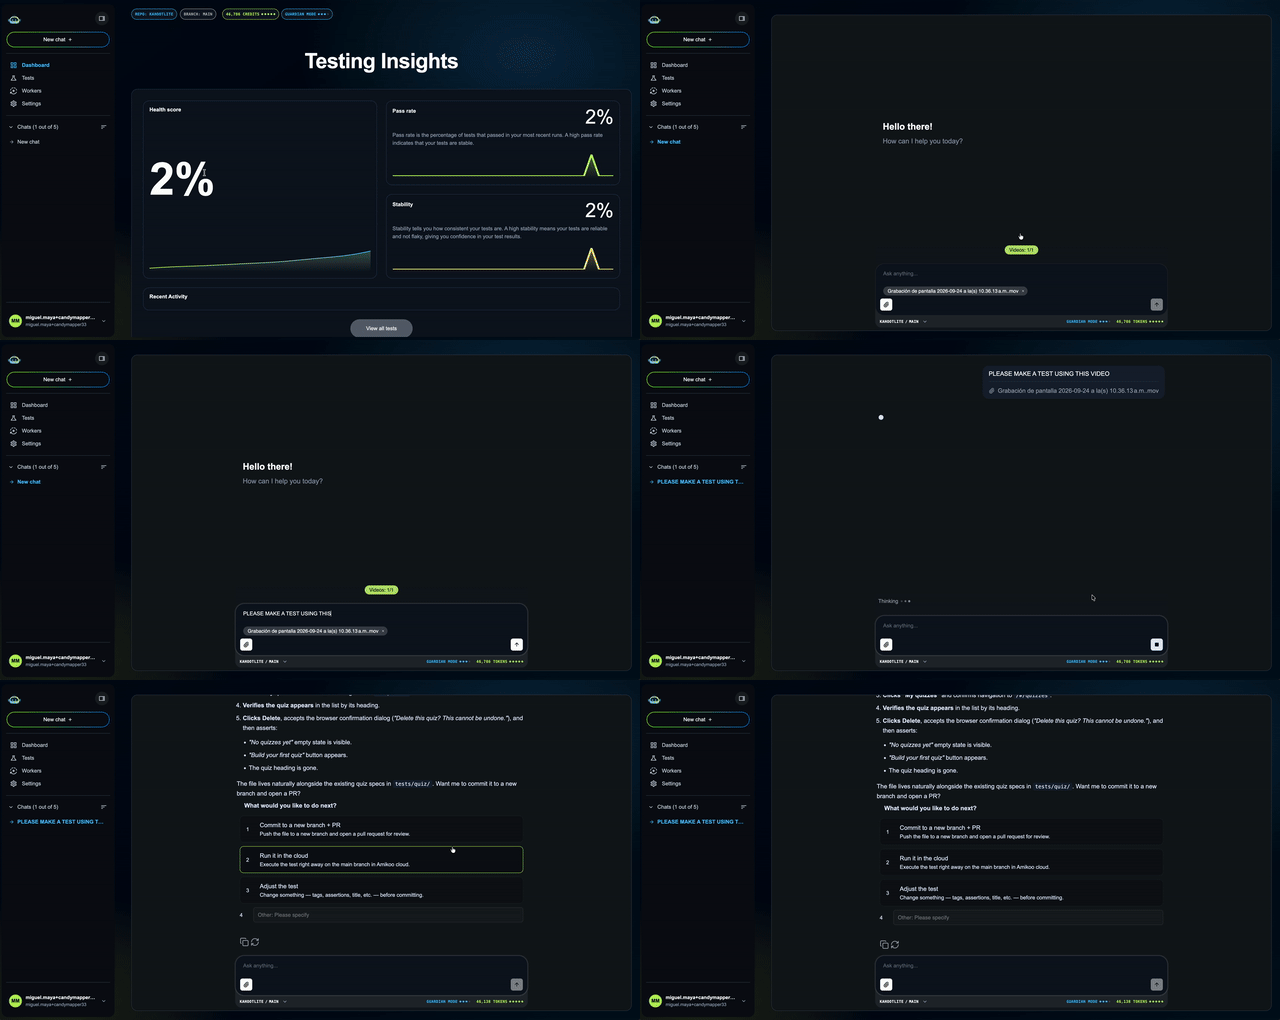
You can attach a file to any prompt now. Specs, screen recordings, spreadsheets of edge cases, whatever you have. Amikoo reads it and uses it to answer, so you don't have to describe everything yourself.

Supported formats: PDF, DOCX, XLSX, CSV, HTML, JSON, TXT, MP4, MOV, WEBM, AVI, JPG, JPEG, PNG.

For example, attach a screen recording and ask Amikoo to write a test from it. It follows the flow and turns it into a step-by-step test that matches what you recorded.

context-files


Read more → Attach files to your prompts in Amikoo

Now Amikoo sees your app the way a customer does

Your codebase tells Amikoo what your app is built with. It doesn't show Amikoo what your customers see. App Access fixes that.

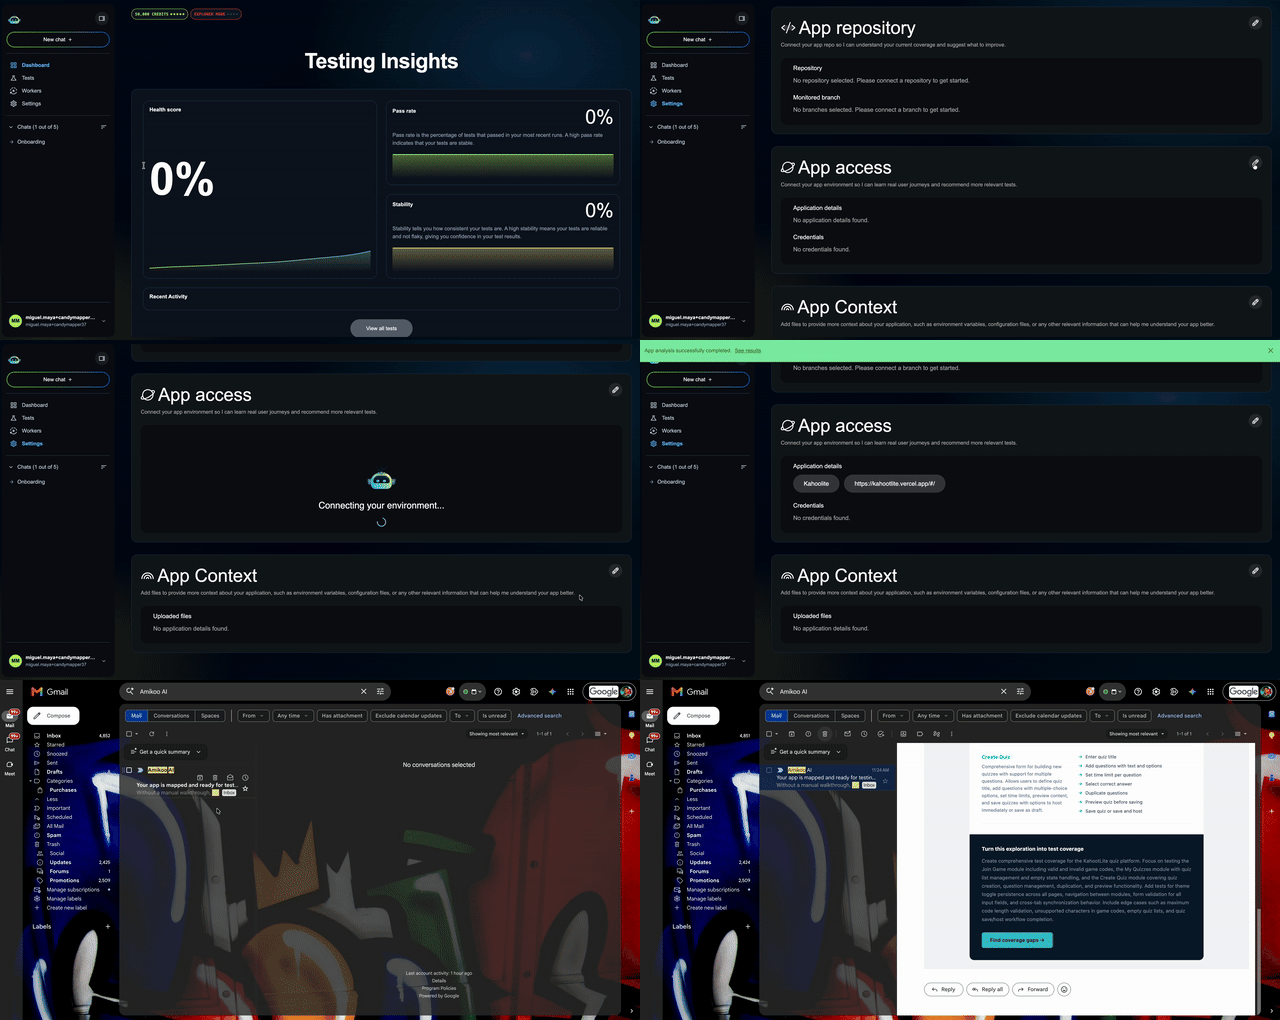
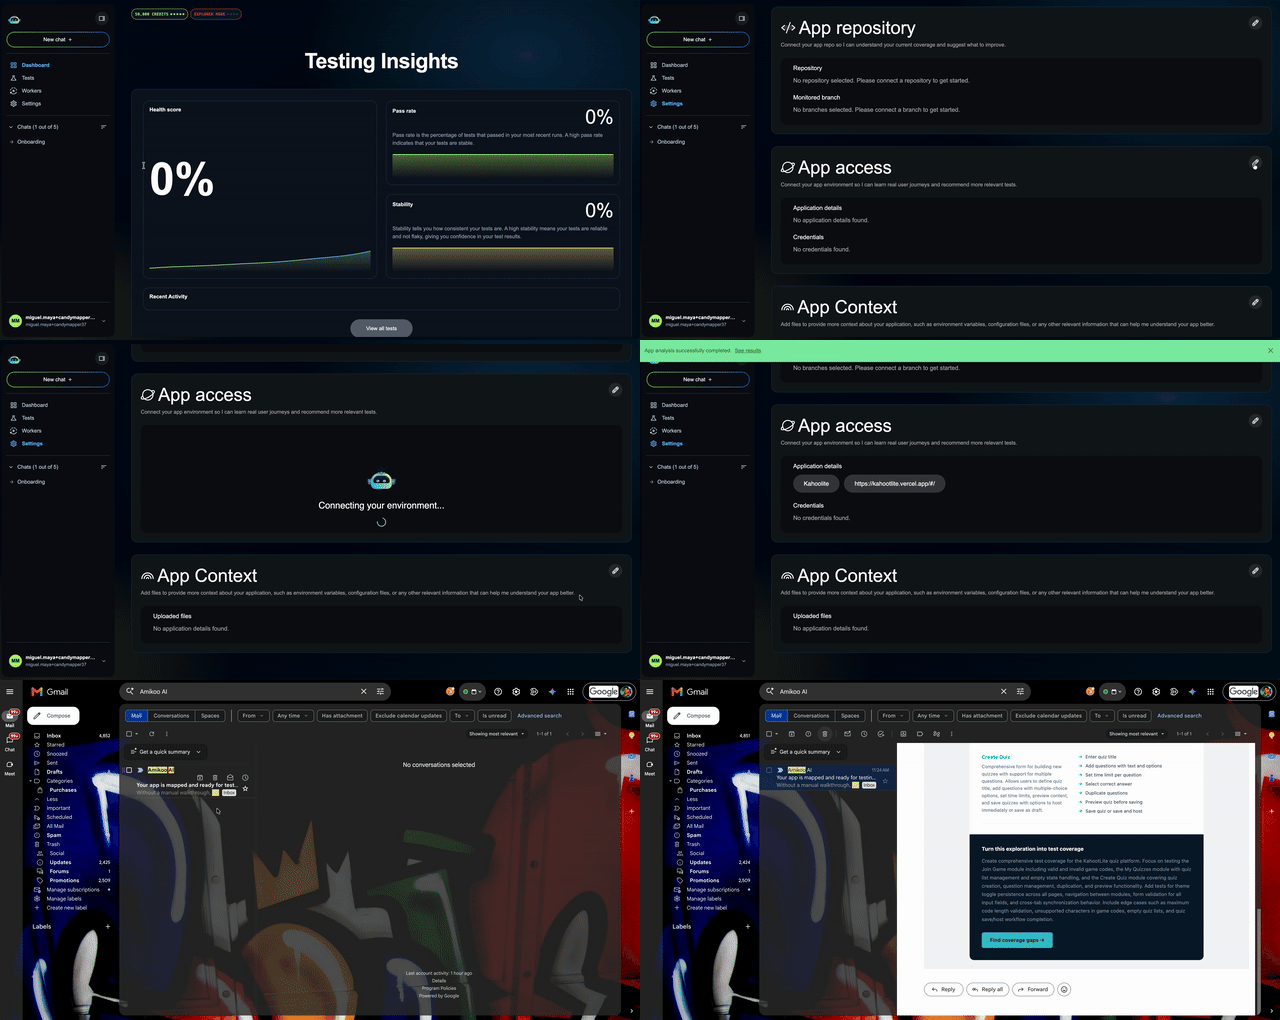
Give Amikoo the URL to your app (plus credentials if it sits behind a login). The Explorer Agent opens it and clicks around live, mapping every flow, page, and feature it can find.

Go to App Access in Settings > Project Context and fill in:

  • App name

  • App URL

  • Credentials (optional, for apps behind a login)

Hit connect and Amikoo starts exploring. Full exploration usually takes a couple minutes.

When it's done, you'll get an email with what Amikoo found: the modules, actions, and flows it mapped. Back in Amikoo, try asking "what do you know about my app?" You'll see that exploration is now part of its working knowledge, ready to turn into real test coverage.

app-access


Read more → Give app access to Amikoo

Connect your Azure DevOps repositories to Amikoo

Same idea as GitHub, but for teams on Azure DevOps. Amikoo needs context about how your app works, and somewhere to put the tests it writes. Both come from your code.

Repository Mapping

Connect one repo for app context and one for tests. If your app and tests live in the same repository, connect it in both the App repo and Test repo fields.

Authentication & Setup

Azure works a bit differently from GitHub, since it does not use a one-click OAuth flow. You will need to create an App Registration in Azure first, then bring over a few details:

  • Organization name: Your Azure DevOps organization name. You will find it in the URL when you are logged in: https://dev.azure.com/{organization}
  • Project name: The project inside that organization you want to connect. It is also in the URL: https://dev.azure.com/{organization}/{project}
  • Client ID and Client secret: These come from an App Registration in Microsoft Entra ID. Follow the step-by-step guide to set one up and grab both values.

How to Connect

  1. Go to Integrations & Connections in Amikoo.
  2. Select Connect next to Azure DevOps.
  3. Paste in the four required values along with the repository and branch you want to connect.

Once connected, try asking Amikoo something like: "Generate tests for my checkout flow."

Same result as GitHub: tests written directly into your repo, based on how your app actually works.

Read more →

Connect your GitHub repositories to Amikoo

Amikoo needs two things to do its best work for you: context about how your app works, and a place to store the tests it writes. Both come from your code. 

You can now connect GitHub directly, in two ways:

  • App repo: Gives Amikoo context on how your app works, straight from the source.
  • Test repo: Where Amikoo writes and stores the tests it generates for you.

Connect one or both. For the best results, connect both the App repo and the Test repo. If your app and tests live in the same repository, you still need to connect that repository in both the App repo and Test repo fields.

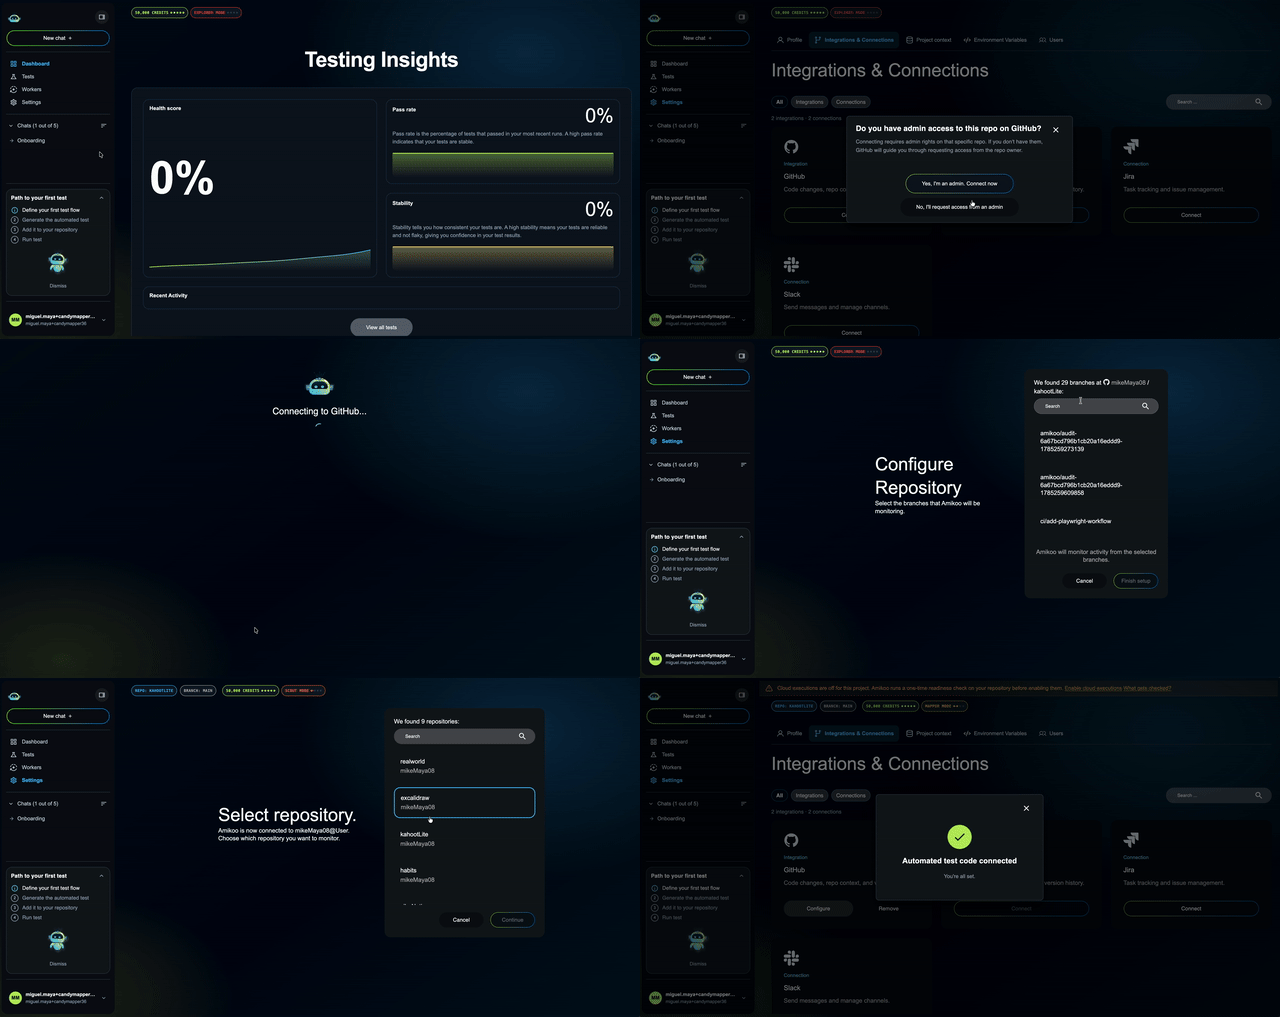
Go to Settings > Integrations & Connections, click on Connect on the Github card, authorize, and choose the repos and branches you want.

github-integration

Once connected, try asking Amikoo something like, "Generate tests for my checkout flow." It will write them directly into your repo, based on how your app actually works.

Read more → Connect your GitHub repositories to Amikoo