This tutorial guides you through creating new tests and submitting a pull request with a new branch. You'll learn how to identify test coverage gaps, generate tests, and manage your pull request from Amikoo through to GitHub.
1. Explain Test Creation Scenario
This tutorial walks through a complete workflow: identifying coverage gaps, generating new tests, and submitting them via a pull request on a new branch.

2. Identify Test Coverage Gaps
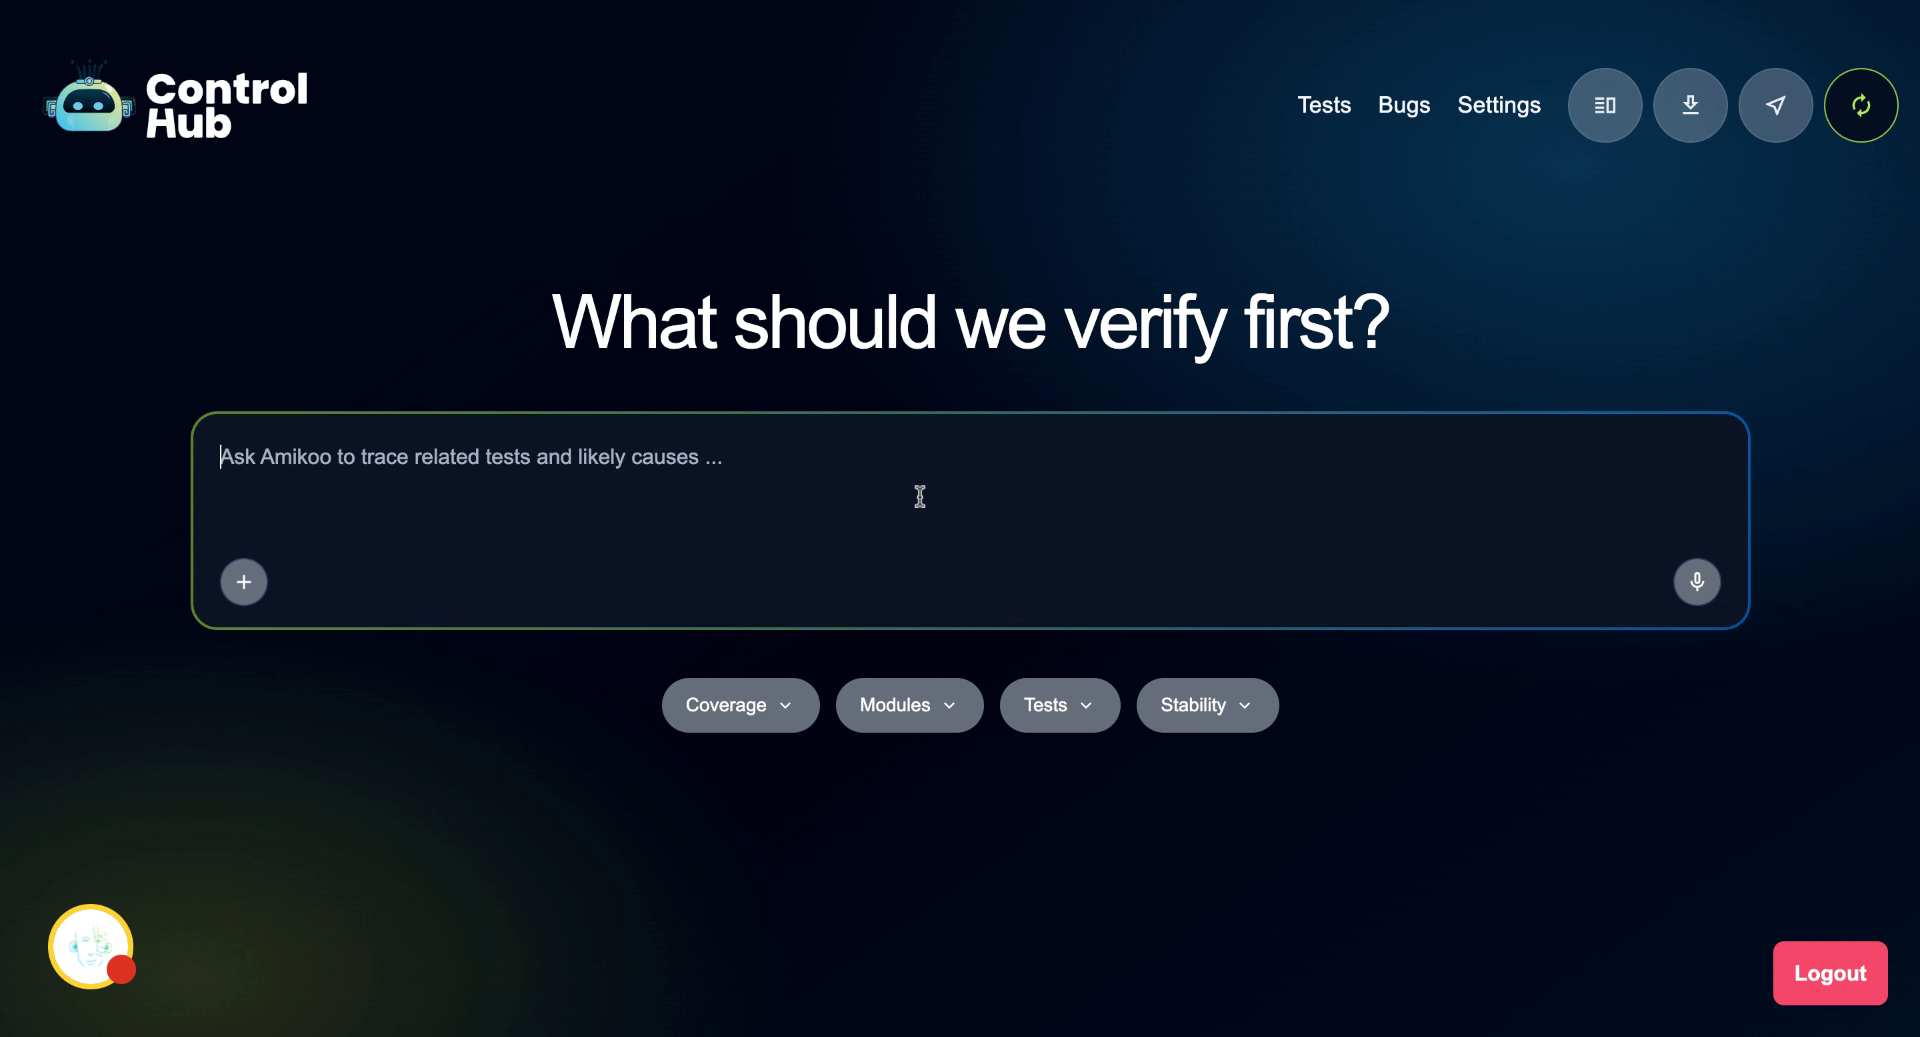
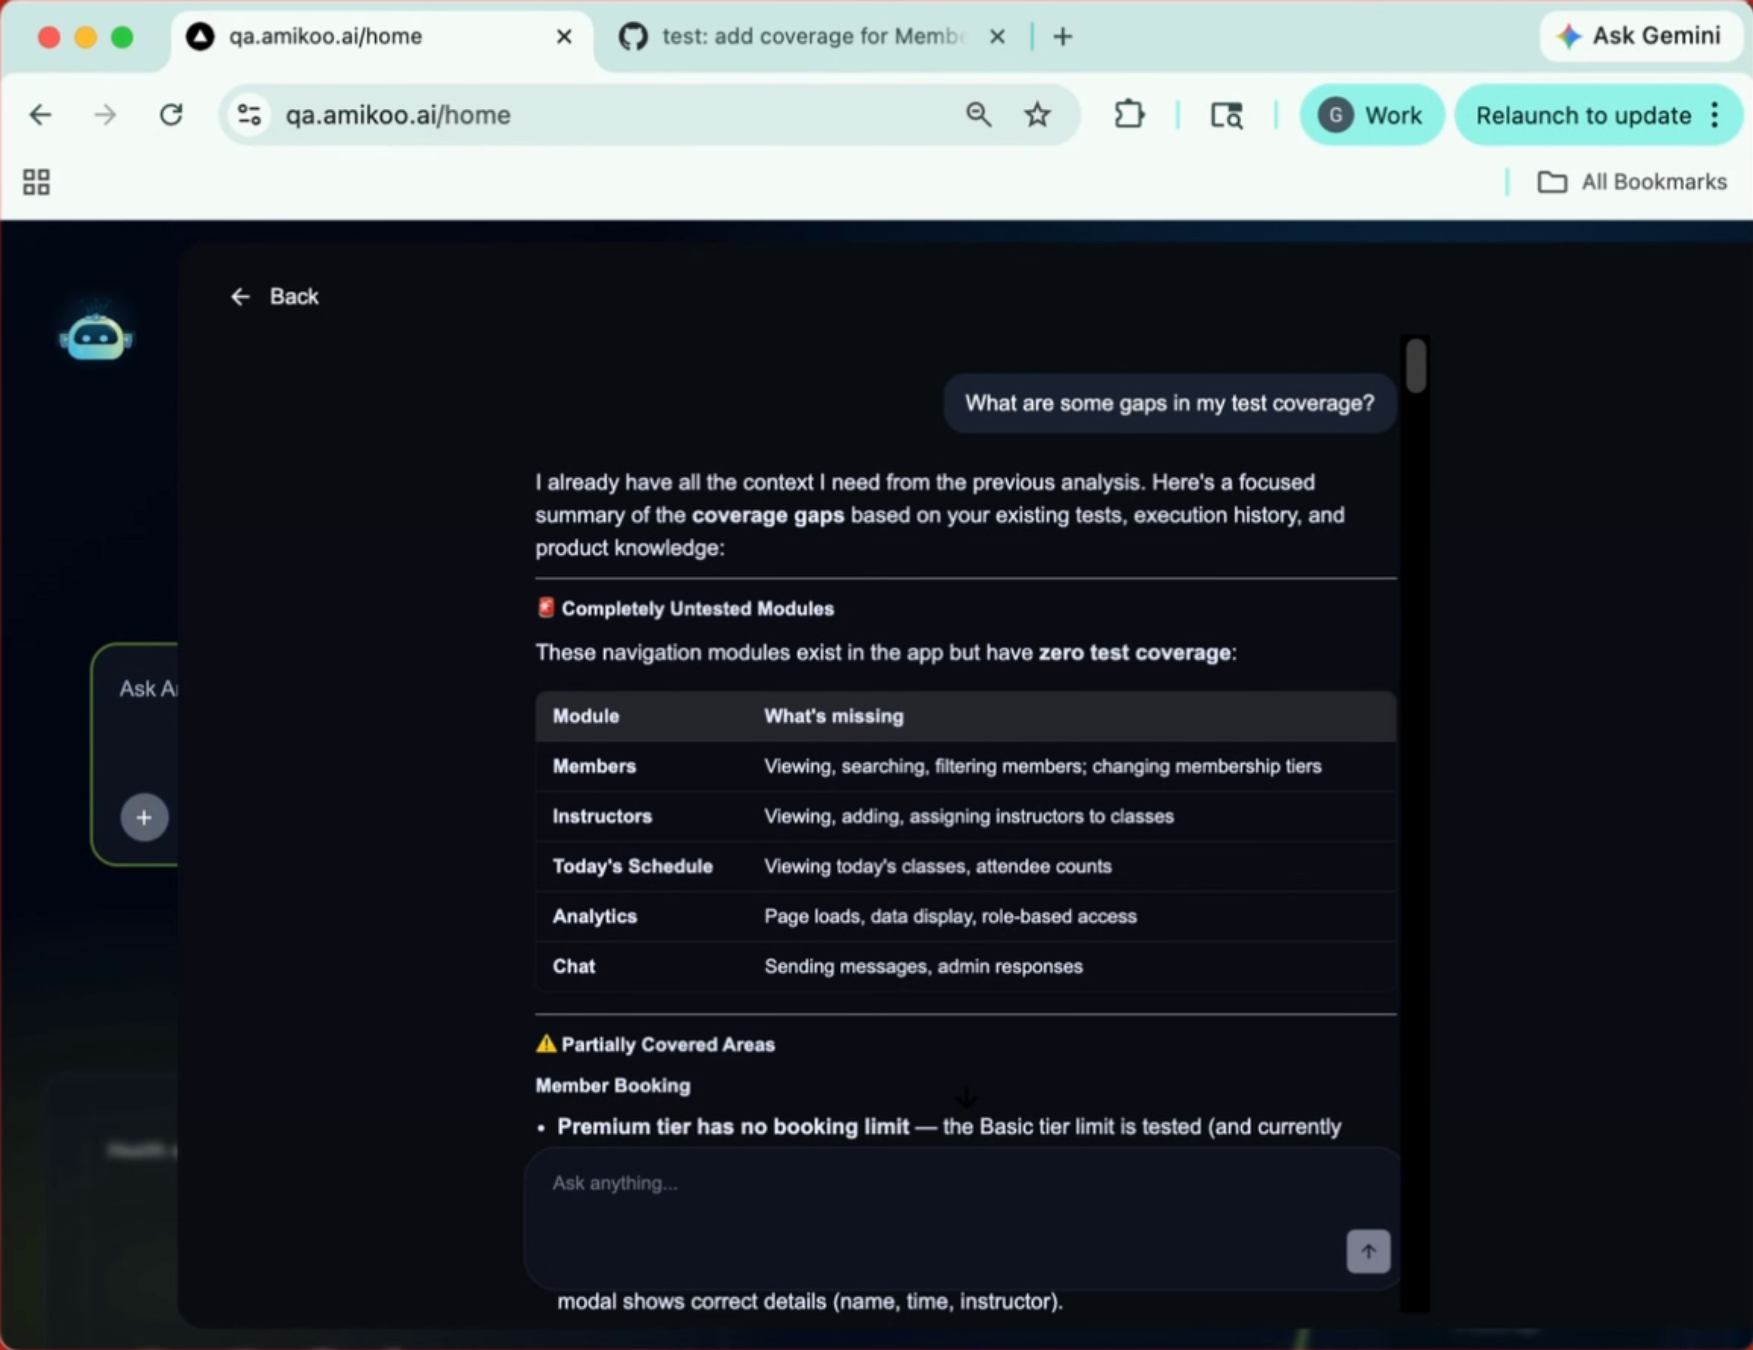
Ask Amikoo: "What are some gaps in my test coverage?" Amikoo will analyze your repository and return a breakdown of untested modules.

3. Review Coverage Status and Suggestions
Amikoo categorizes your coverage into three groups: areas with no tests, areas that are partially covered, and areas that have tests but could benefit from a review.

4. Select Test Scenarios
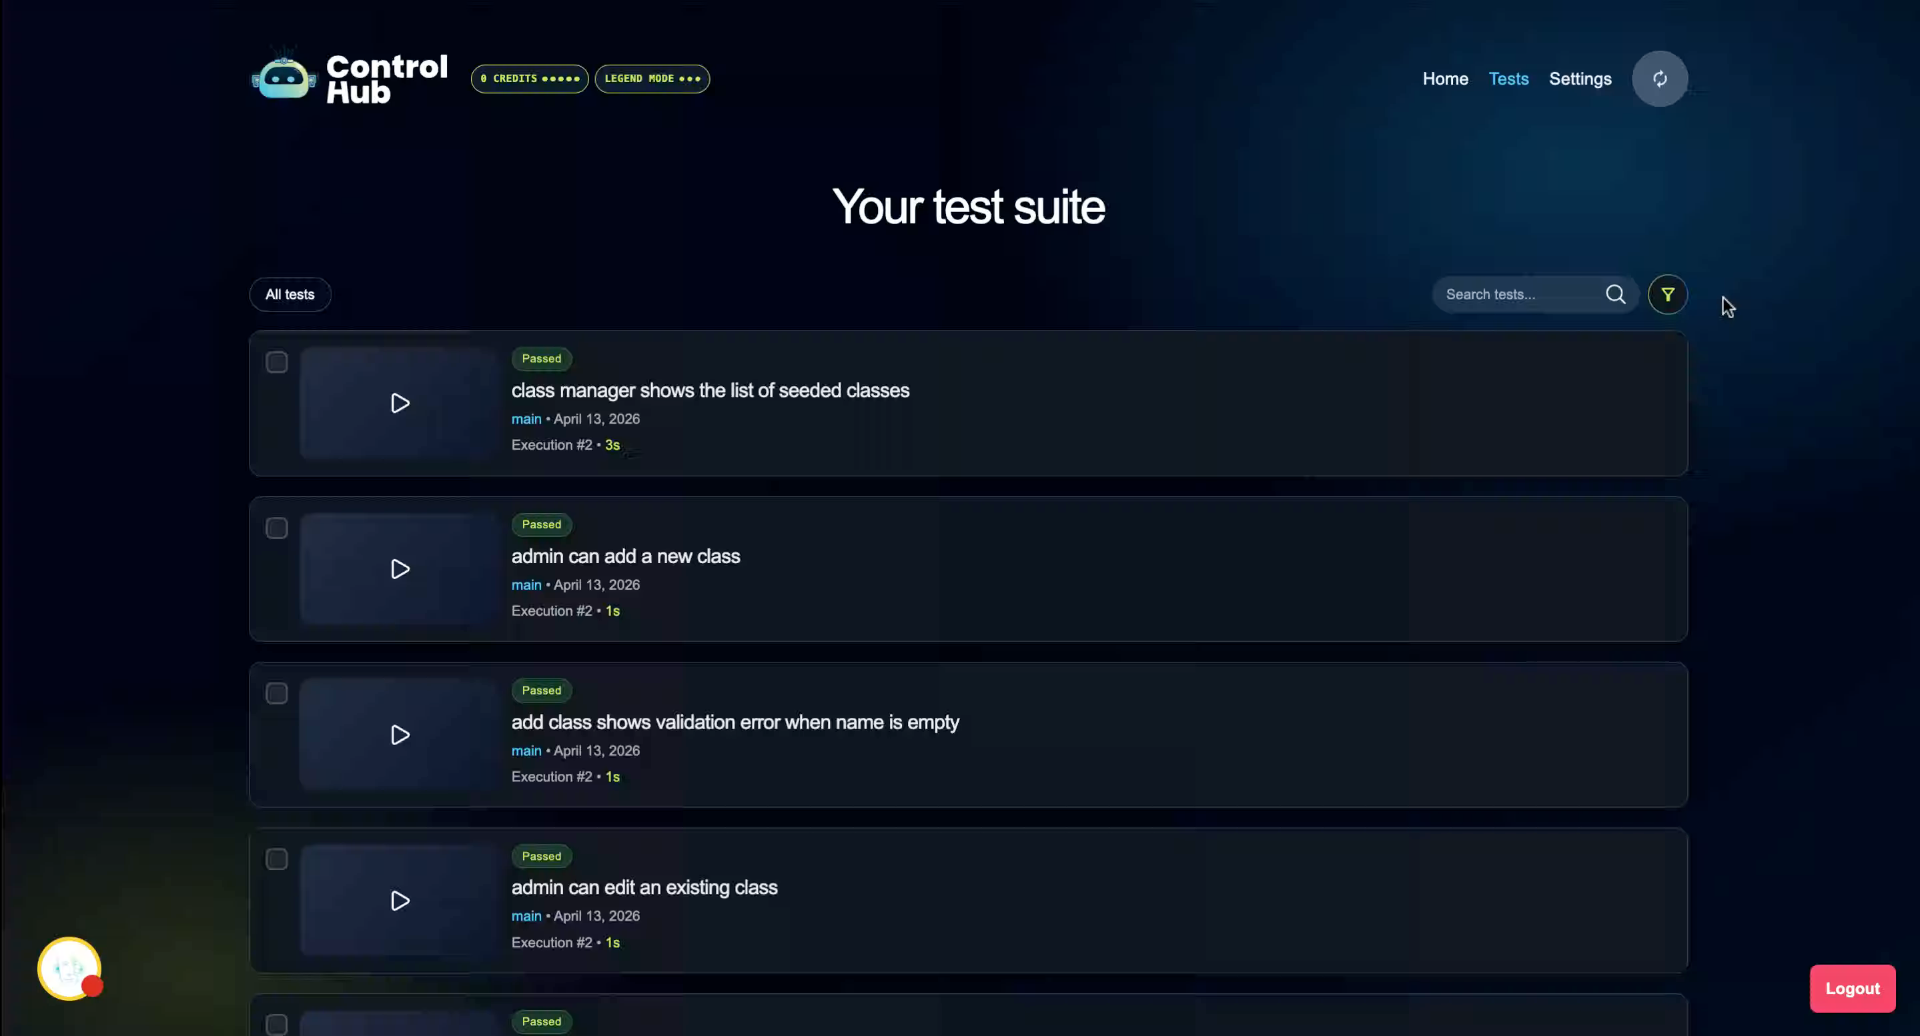
Review the available scenarios and choose which coverage area you'd like to address first.

5. Choose Area With No Coverage
Using the context from your connected repository, Amikoo creates tests for the requested modules — in this case, five new test files.

6. Amikoo Generates the Tests
Using the context from your connected repository, Amikoo creates tests for the requested modules — in this case, five new test files.

7. Review the Generated Test Files
Amikoo displays the contents of each test file, including the test name and the location where it will be added.

8. Confirm Before Committing
Before creating and committing the files, Amikoo presents a full summary for your review.

9. Review the Test Summary
The summary confirms 26 new tests across five files. Review the details before proceeding.

10. Review the Test Areas
The tests span several distinct areas of your application, giving you broad new coverage in a single workflow.

11. Approve and Create the Pull Request
Confirm to create the branch and commit the files. Amikoo creates a pull request containing all five files and 26 tests.

12. Review Any Warnings
Amikoo may surface warnings — for example, that the Amikoo QA reporter isn't configured in your repository, or that no GitHub Actions workflow exists. These are informational only and do not affect the branch or pull request creation.

13. Navigate to GitHub
Head to GitHub to view the newly created pull request.

14. View Pull Request Details and Coverage
The pull request mirrors the summary from AmikooChat — five test files with 26 new tests covering member directory, today's schedule, instructors, analytics, and chat.

15. Review Commits and Merge
From the pull request, you can review the commits, inspect the changed files, and merge when ready.

16. Confirm Branch Creation
The pull request confirms that the branch was created by AmikooAI.

17. Streamlined Test Creation from Chat
This workflow shows how quickly new tests can be created and submitted directly from the AmikooChat interface.

18. Commit and Merge Pull Request
Once you've reviewed the pull request, merge it to incorporate the new tests into your main branch.

You have successfully identified coverage gaps, generated new test files, and submitted a pull request with a new branch. Head to GitHub to review and merge the pull request to complete the process.