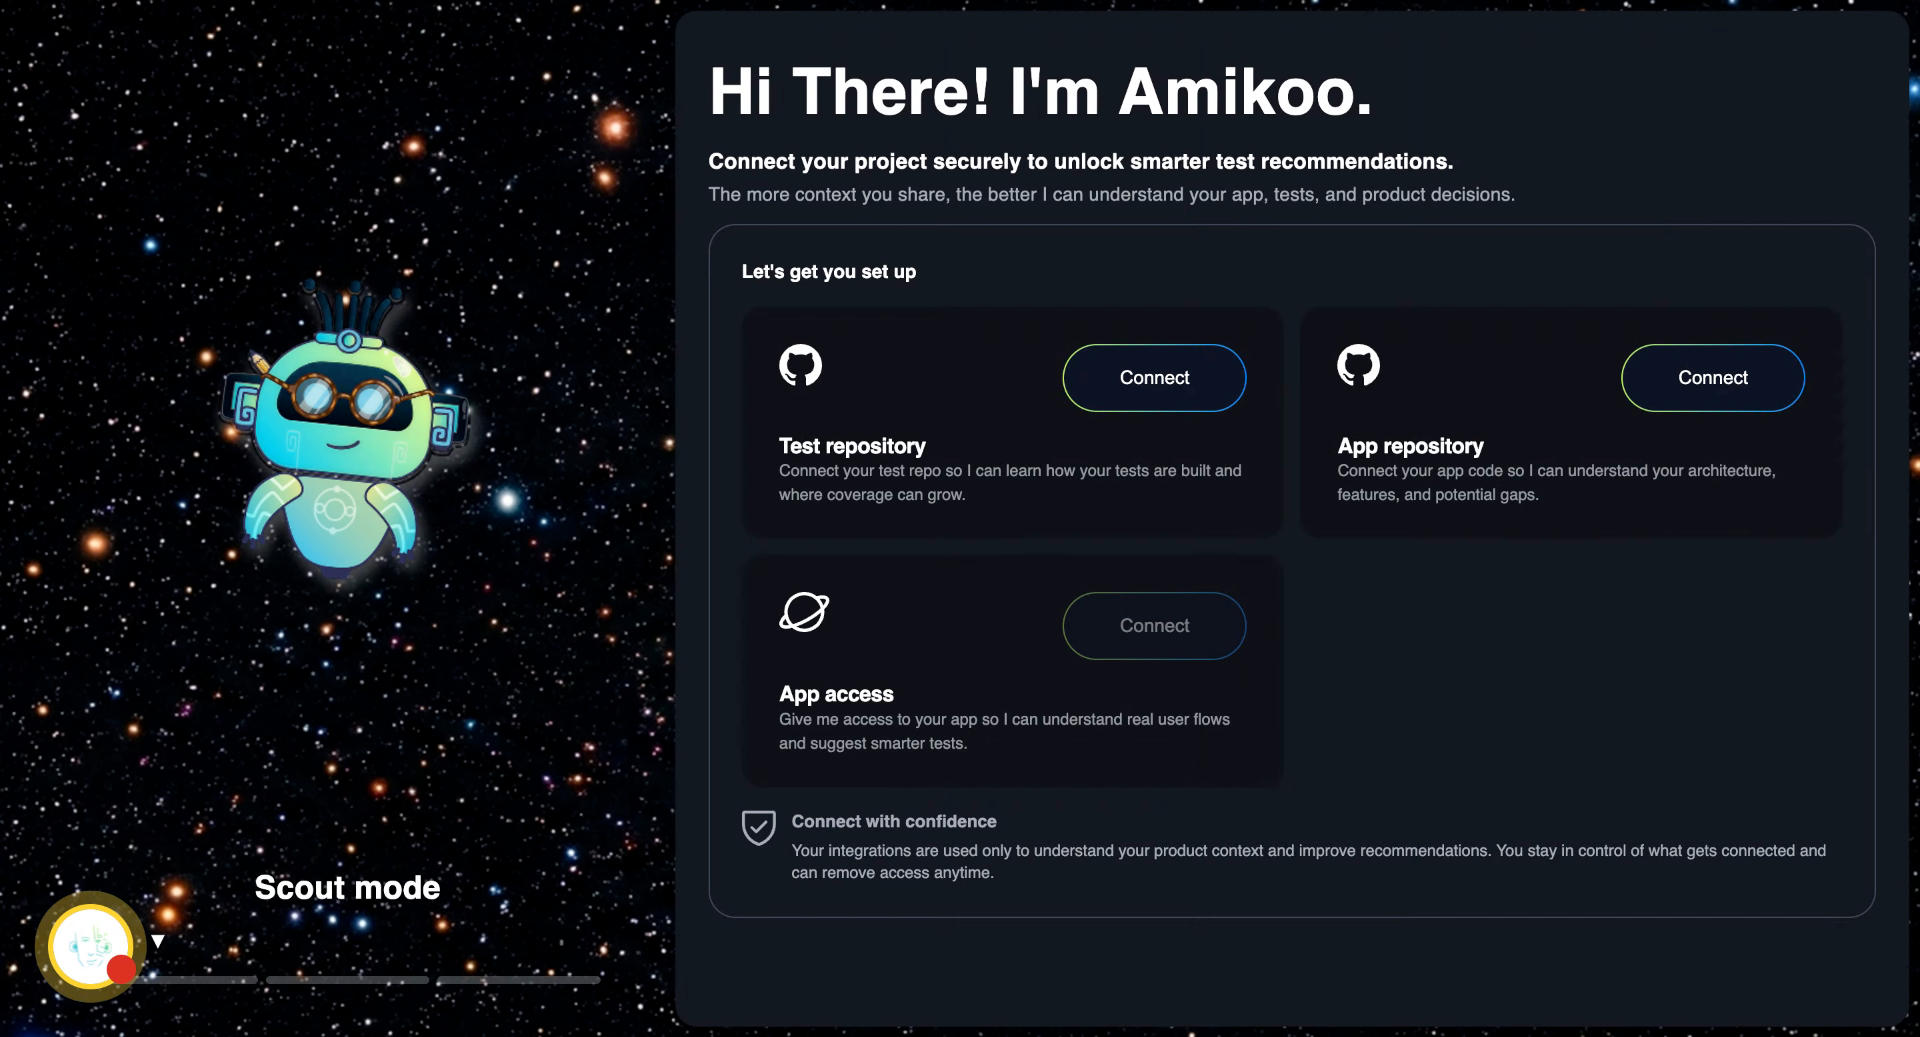
This tutorial helps you get started with Amikoo by walking you through your first interaction. Before you begin, you will need to complete onboarding to get the most out of Amikoo's features.
1. Your first interaction
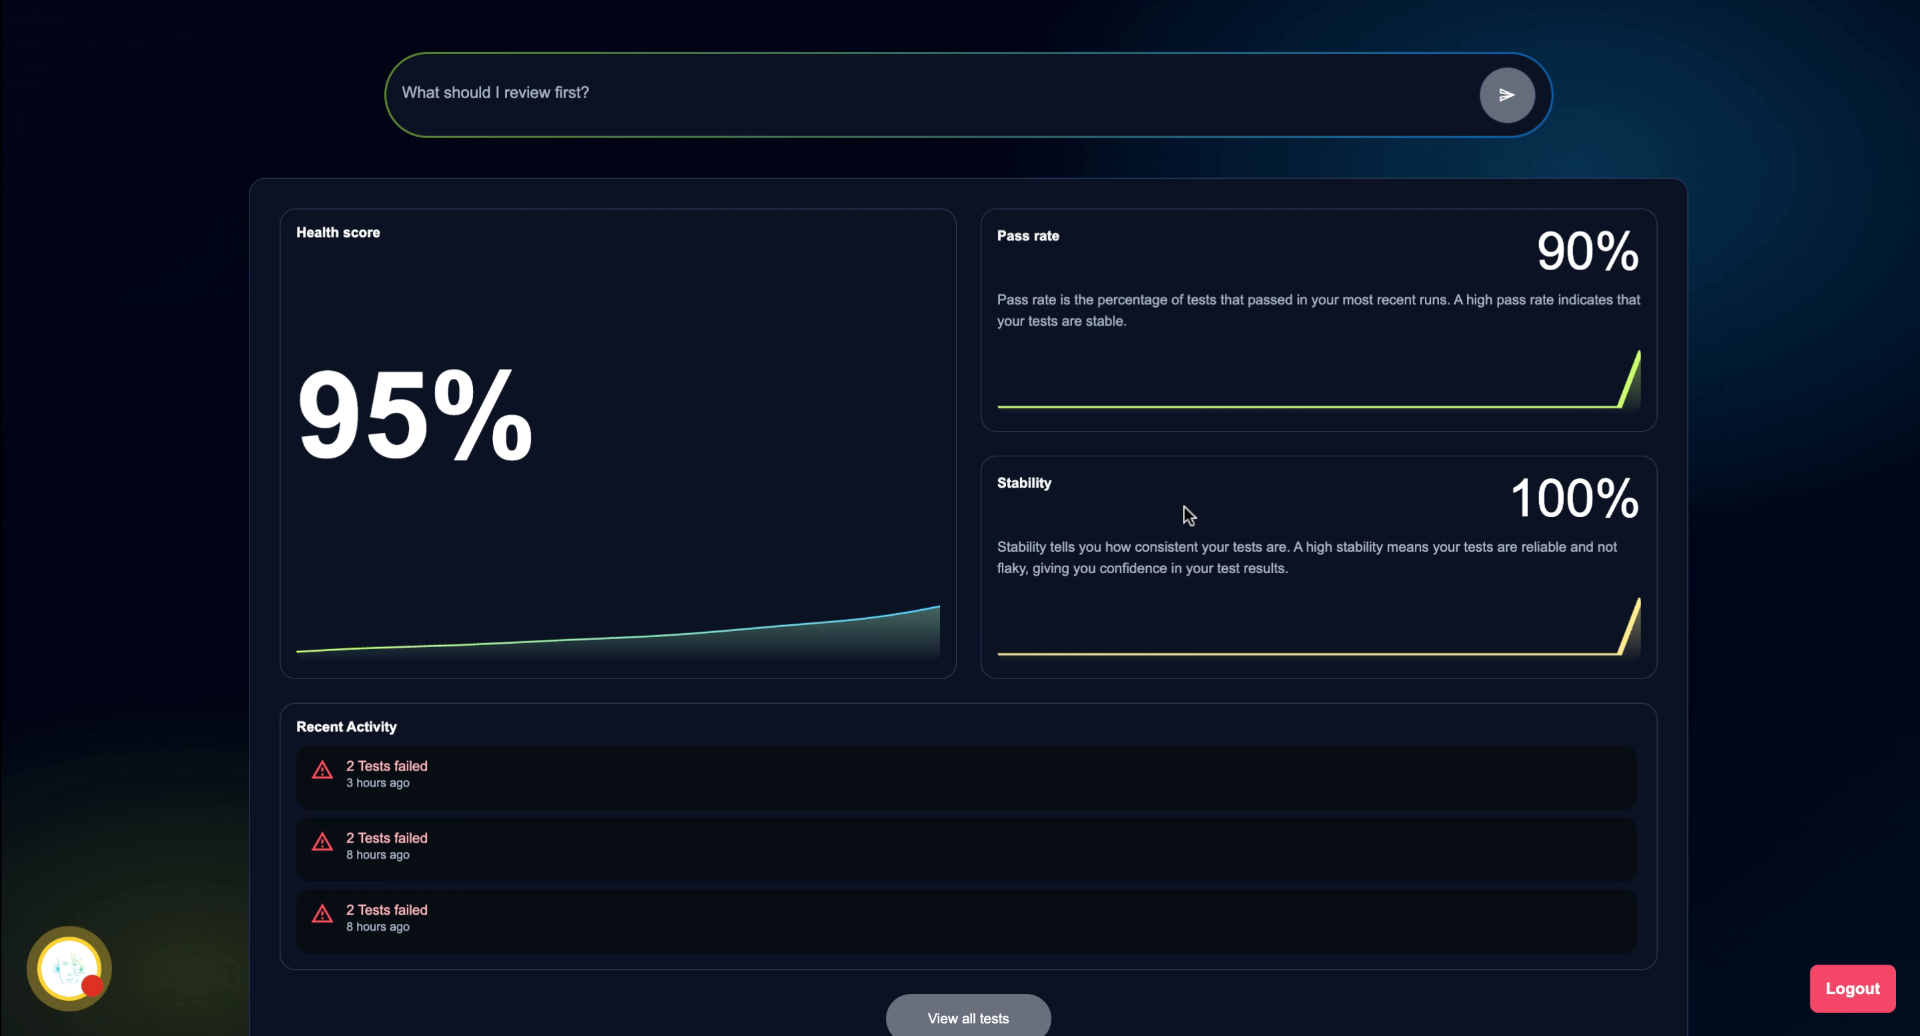
After completing onboarding, you're ready for your first interaction with Amikoo. The chat interface displays suggested questions to help you get started — if you're not sure where to begin, simply click on one.

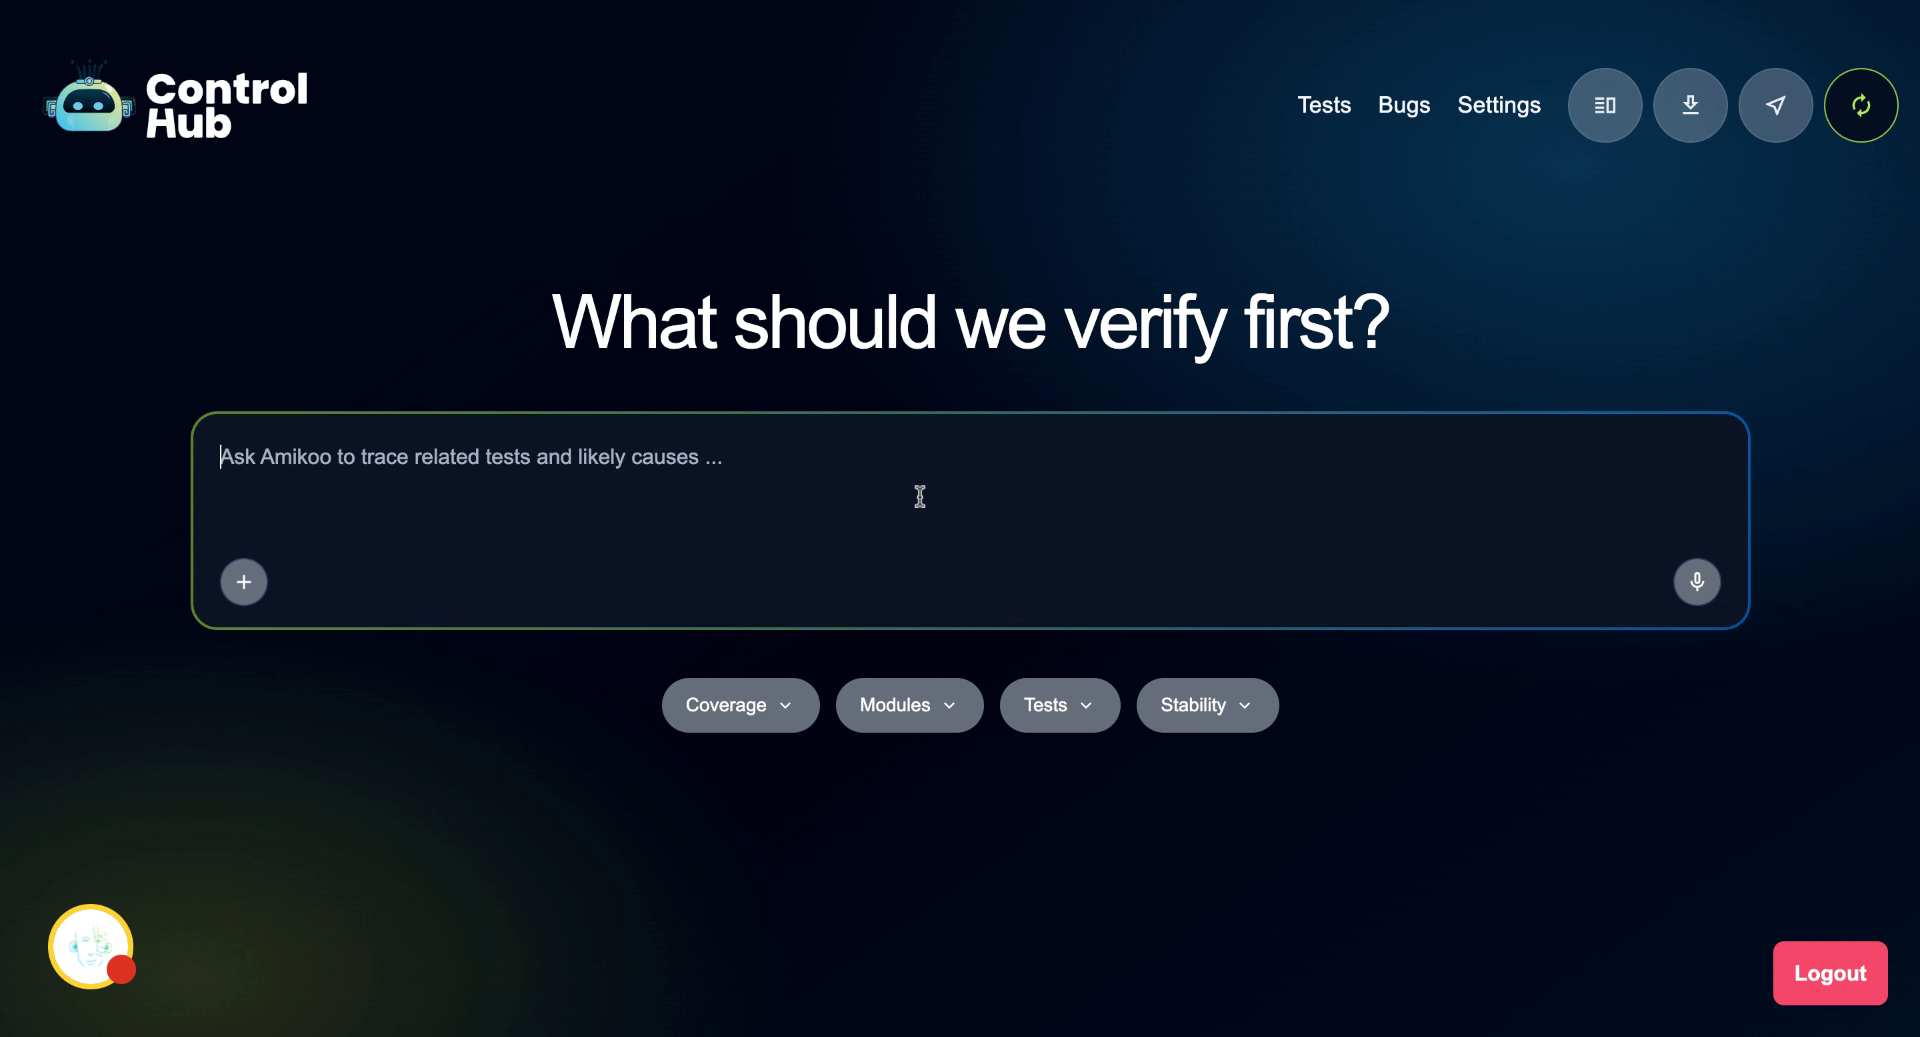
2. Select a Starting Question
Click a suggested question to explore what to focus on first in Amikoo.

3. Request Test Creation
For our first interaction we will ask Amikoo: "Can you help me create tests for my application?"

4. Review Testing Feedback
Amikoo will return feedback on your application's testing setup and what's available to work with.

5. Explore Testing Scenarios
Amikoo presents multiple testing scenarios tailored to your application.

6. Choose Test Areas
Select which areas of your application you'd like to write Playwright tests for.

7. Start with Critical Flows
Begin with your application's most critical user flows to prioritize the most important tests first.

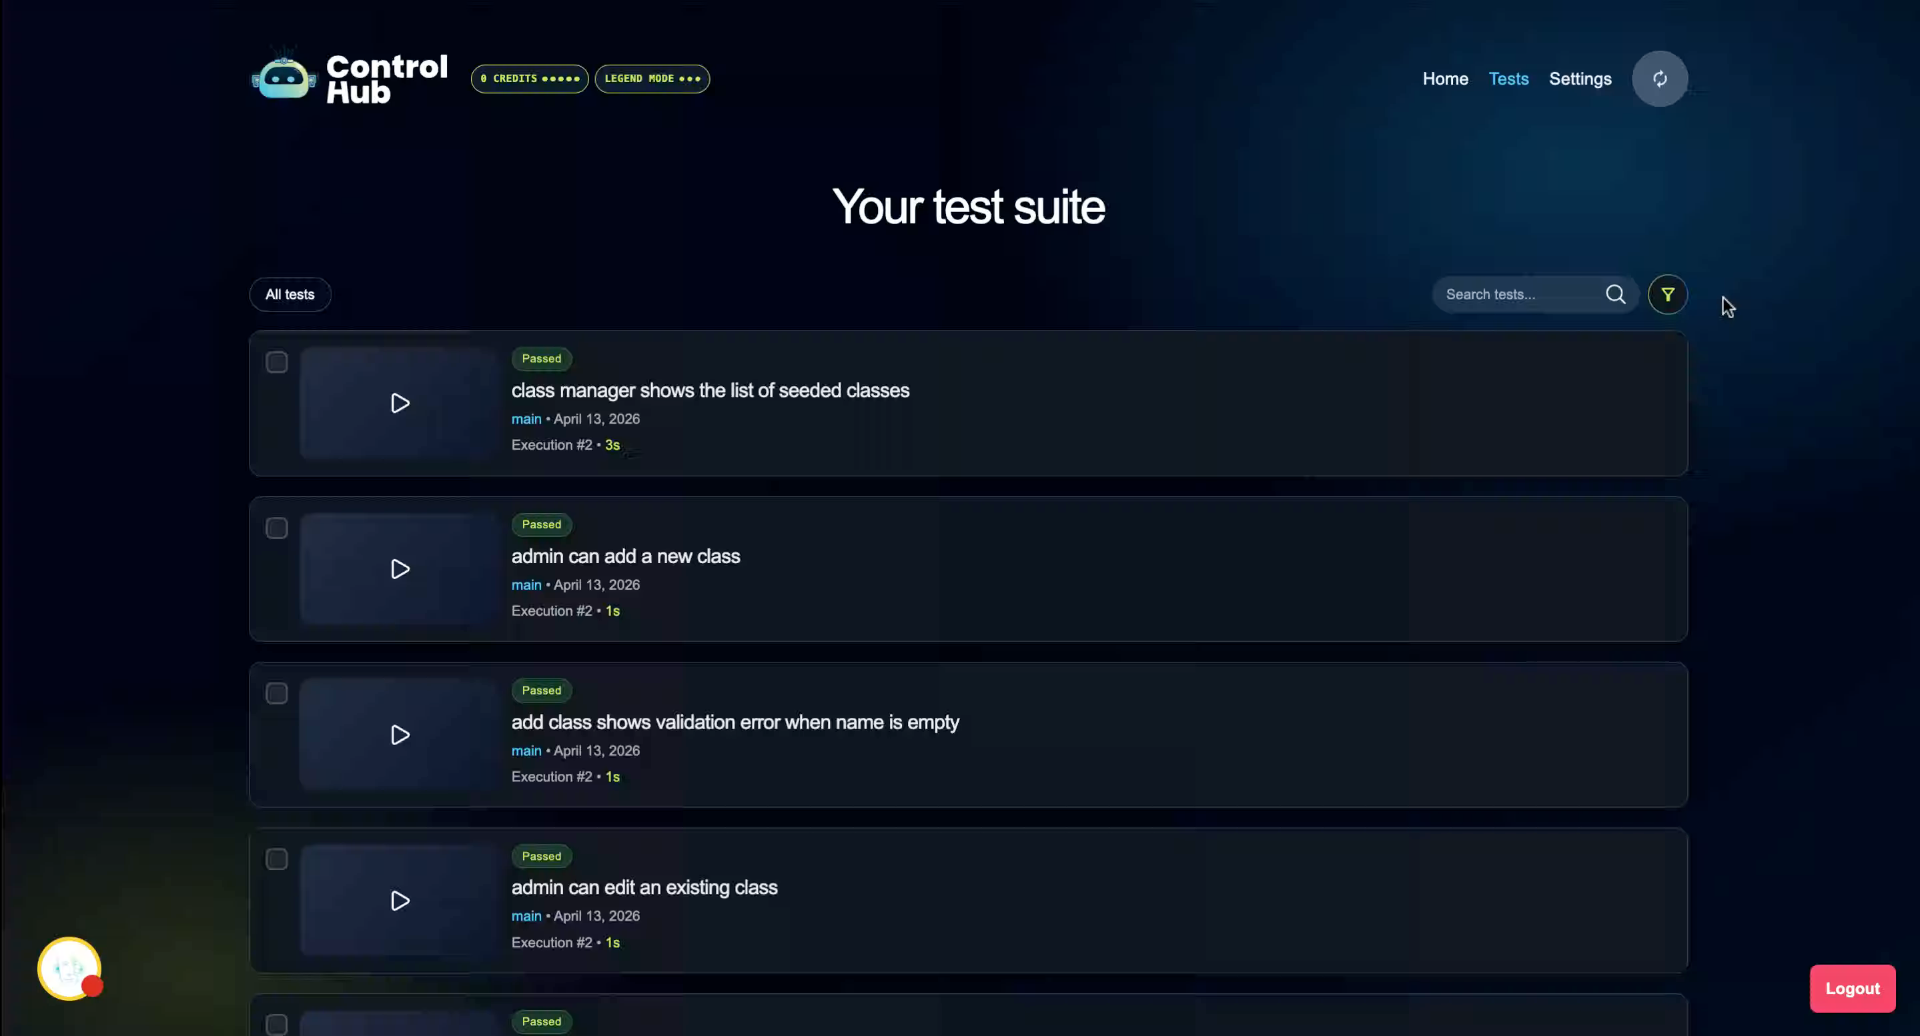
8. Review Generated Tests
Amikoo generates three tests ready to execute and add to your test repository for ongoing use.

9. First Scenario Complete
This is just one of many things you can do with Amikoo — and it's only the start of what's possible from your very first interaction.

10. Test Repository Not Yet Connected
If you don't have a test repository connected yet, your tests won't be committed at this stage — that's okay.

11. Next Steps: Commit and Pull Request
Once a test repository is connected, you'll be able to commit your tests and open pull requests directly from Amikoo.

This tutorial walked you through your first interaction with Amikoo, from requesting test creation to reviewing feedback and exploring testing scenarios. You're now ready to manage and execute tests using Amikoo's features.