This tutorial guides you through executing tests with Amikoo and receiving feedback from those runs. Before starting, make sure you have access to your test repository and your Amikoo account credentials.
Pre-Requisites:
-
Test repository connected
-
Playwright installed to run tests
1. Introduce Test Execution Process
This tutorial covers how to configure the Amikoo reporter, execute your tests, and view the results and feedback directly in Amikoo.

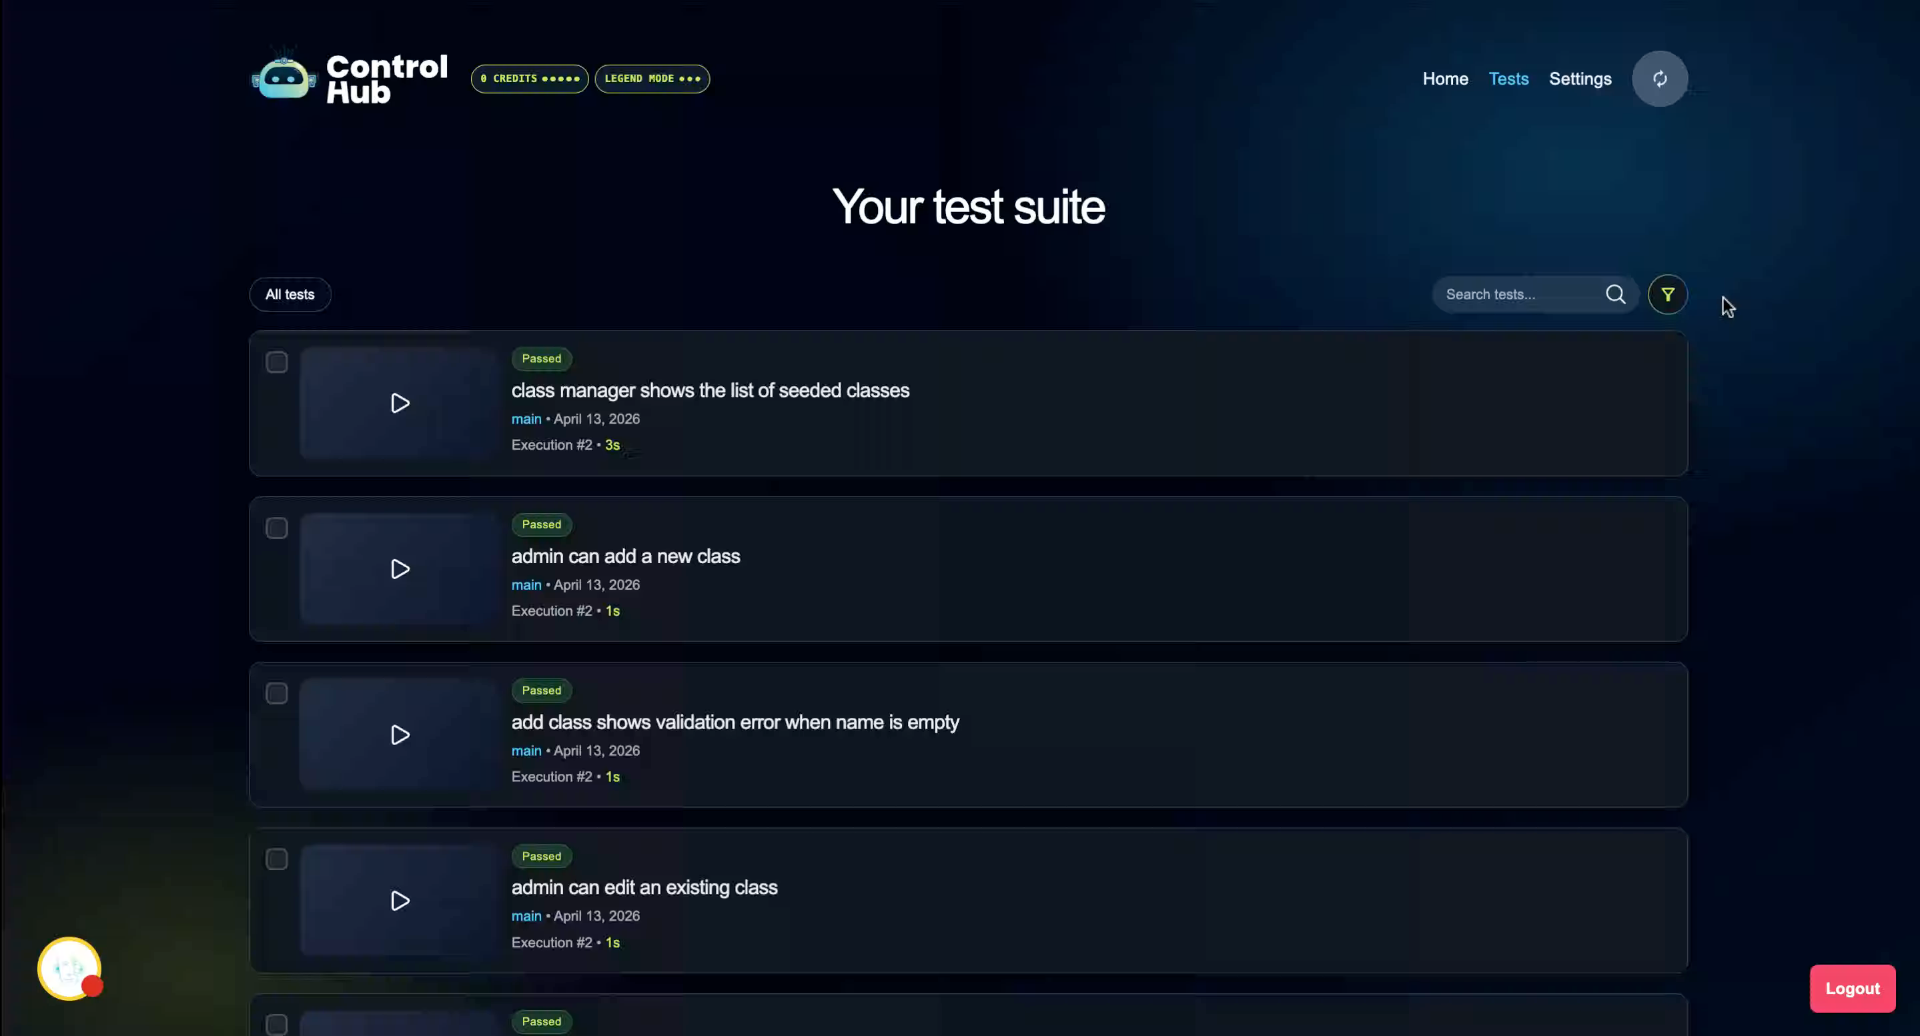
2. Review Test Repository Connection
With your test repository connected — and optionally your app repository — your tests will appear listed in Amikoo. On the first run, no execution number will be shown yet since the tests haven't been run.

3. Retrieve API Key from Settings
Go to Settings and copy your API key. This key is used to authenticate your reporter and send execution results back to Amikoo.

4. Open Your Preferred IDE
Open your preferred IDE to begin configuring the reporter.

5. Install Required NPM Package
Install the Amikoo NPM package to enable test result reporting back to Amikoo. npm install @muuktest/amikoo-reporter --save-dev "

6. Configure Playwright Settings
Add the minimum required configuration to your Playwright config file. Once the npm package is installed, the reporter will automatically send results to Amikoo after each run.

7. Add API Key to Environment File
Update your .env file and paste your API key there. Save the file before proceeding.

8. Monitor Test Execution and Upload
With your API key saved and your environment configured, run your tests. Once all tests have completed, the reporter will upload the execution videos and send the execution report to Amikoo. A confirmation message will appear when the report has been sent successfully.

9. View Test Execution History
Return to Amikoo to see the updated execution history. The most recent run will appear with its date and an incremented execution number, reflecting the new run.

10. Review Final Configuration Requirements
That's everything needed to configure the Amikoo reporter. To recap: connect your test repository, install the NPM package, configure Playwright, and add your API key to your environment file.
You have successfully configured the Amikoo reporter, executed your tests, and reviewed the execution history in Amikoo. Your results and feedback will now be sent to Amikoo automatically with each test run.